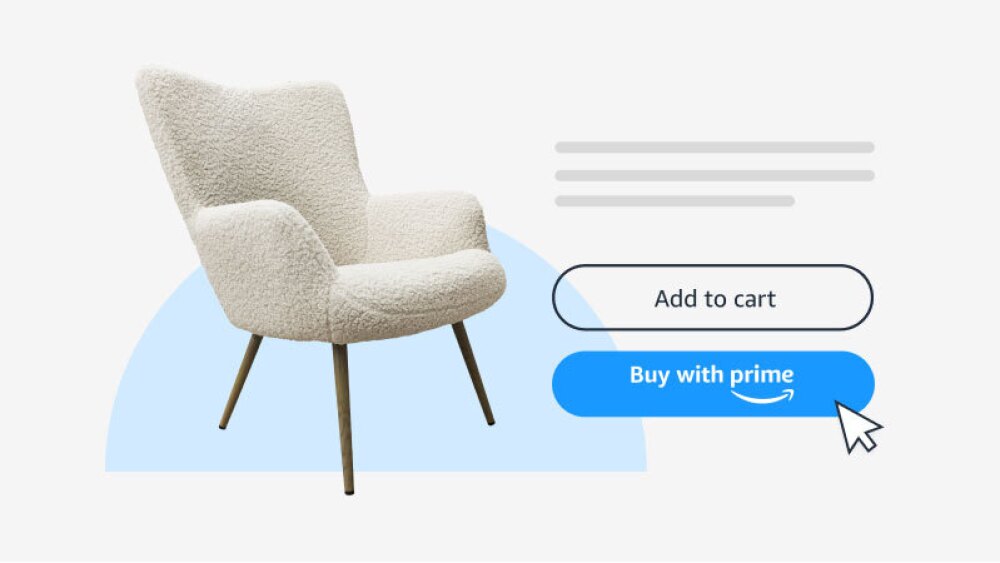
Buy with Prime empowers you to accelerate your growth by offering a Prime checkout, delivery, and returns experience directly on your ecommerce site. Prime members who checkout using Buy with Prime on your site get free 1-2 day shipping and a trusted checkout experience.
Choose your Buy with Prime integration
There are two ways to set up Buy with Prime on your site, depending on your ecommerce provider (ESP):
- Buy with Prime checkout
Set up and add Buy with Prime checkout on your site. The Buy with Prime checkout snippets are compatible with most ecommerce providers, and provide opportunities for customization within your site design. With Buy with Prime cart building, shoppers can buy multiple Buy with Prime items in a single order, plus view your other product recommendations. - Multichannel Fulfillment app for Shopify
Set up and install the Multichannel Fulfillment app for Shopify to simplify operations by using one app to integrate both Buy with Prime and MCF seamlessly into your existing Shopify site, and manage both services directly in your Shopify admin.
Set up and install the Multichannel and Fulfillment app for Shopify and simplify operations by using one app to integrate both Buy with Prime and MCF seamlessly into your existing Shopify site, and manage both services directly in Shopify admin.
Set up and add Buy with Prime checkout on your site. The Buy with Prime checkout snippets are compatible with most ecommerce providers, and provide opportunities for customization within your site design. With Buy with Prime cart building, shoppers can buy multiple Buy with Prime items in a single order, plus view your other product recommendations.


